
I find that on cold winter days, even though I love them and long for them the rest of the year, my mind drifts to when the garden will be productive and colourful again come spring and summer. Winter is time to plan and prepare for the onslaught of prospective growth and all it entails.
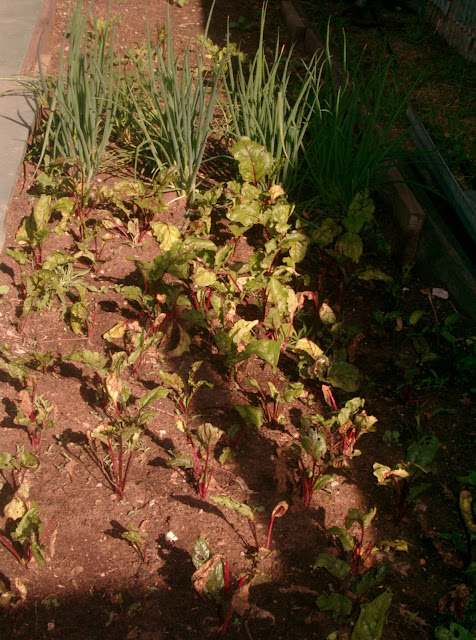
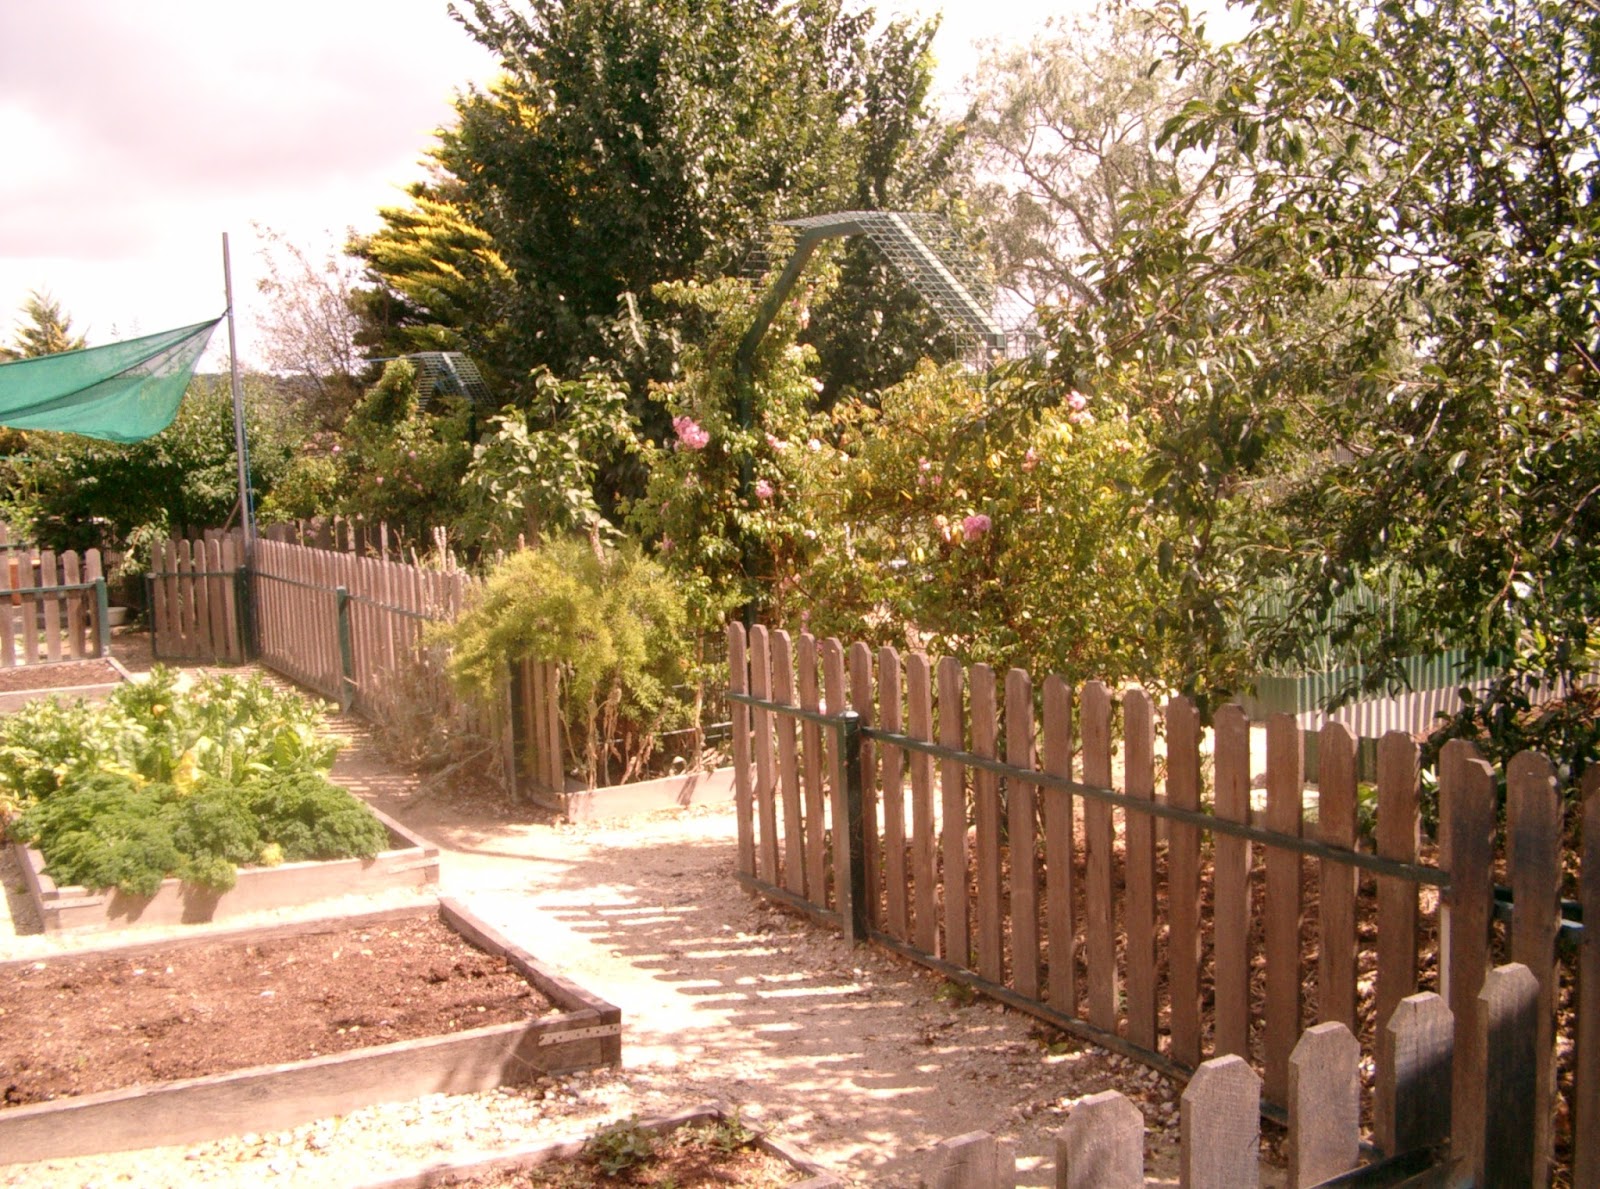
This is a summary of how one of our garden 'rooms' used to look. Although you can't rush a garden, it seems to change so regularly.
*We still have raised garden beds; - we've moved them to another 'room', and they are now made from metal (because we are metal fabricators and - well - why not?).
*We still have picket fences surrounding the garden rooms, but our pit bull cross, - Cezar by name - has busted a few of the panes out as he does his 'mad-half-hour' run around the garden in joy and excitement. Machinist compares him to a Mack truck.
*The Russian Giant Sunflowers were a sheer delight. Oh, and they were - HUGE.
Anyway, moving on....
Our garden soil is mainly clay. Pure unadulterated clay. There isn't much one can do with clay soil - especially if a vegetable garden is on the cards. Clay soil becomes water logged. Very quickly. A brief spring shower can cause the clay soil to become like a mud-wrestler's performance ring. For years we tried to correct the clay soil, by adding gypsum. The soil improved, but the wet areas still returned - year after year. Until we learned about raised vegetable beds.
It is necessary to ensure that the wood used for contained, raised garden beds is not what is termed 'treated' wood. Reason being, the chemicals used to treat the wood can and do seep out of the wood and contaminate the soil which the vegetables grow in. This ultimately affects the plants. We used hardwood planks, to erect the 'frames' for our raised vegetable beds. Hardwood lasts a long time, before splitting or rotting. Many people call the hardwood planks 'sleepers' - a name given to the planks supporting the railway tracks, but the ones we used were nothing like the authentic railway sleepers.

Our planks measure 2 metre x 1 metre per frame. We used galvanised brackets and nails to secure the frame together. Galvanised material will not rust. No rust, no rotting wood.
When the frames were completed, we carried them to their allocated site; a semi-gravelled driveway that we no longer wished to use as such. The gravel was part pebble and part road base. Weeds had already started to grow through the gravel, so these were first cut down before we laid the frames. It really doesn't matter where you start your raised vegetable garden, as long as it receives full sun for at least eight hours of the day.

On one side of the (former) driveway are the septic tanks, water tank and house, on the other side is our back garden. To make the whole area uniform, we covered the in-ground septic tanks with a colourbond sheeting, and built a raised, framed vegetable bed around them, forming a 'U' shape. Four frames running north/south and two frames running east/west were laid in position, making a total of 7 beds in this full-sun area. We placed thick newspapers within the frames to cover the ground and prevent further weed growth. Then began the task of filling the beds with soil.
The soil we chose was part pig manure/ part top soil. Over the years, we have added a variety of manures to this original soil, including turkey manure, which is by far the best. Chicken manure does the job as well, but the manure has to be at least a week old before you use it, otherwise it will burn your plants. Due to our clay problem, we decided to buy the soil in for these beds, but if you have excess garden soil you can improve it by the addition of manures and other organic matter. Once the beds were filled, we let them rest for 10 days before we planted our seedlings.
Between the frames, to prevent weed growth, we placed thick layers of hardwood sawdust - making paths. This wears down over time, but we continue to top it up when necessary. The amazing thing about sawdust is that very few snails like to pass over it. Whenever we see stumps where the lettuce was once thriving, we know it is time to top up the sawdust!
When planting in the vegetable beds, we use the companion planting method. Tomatoes are planted with basil. Nasturtiums and marigolds are planted with most other spring/summer vegetables. Each year, we rotate the beds, which means that we grow different types of vegetables in different garden beds. 'Musical beds', so to speak. We have learned not to mulch the seedlings until they show signs of growth and sturdiness. We used pea-straw mulch around our seedlings last year, and they turned black and died. The damp straw, heated by the sun created a humidifying effect, resulting in perfect growing conditions for bacteria and mildew. This naturally spread to the tender seedlings and they became overwhelmed. The black colour was a sure sign of mildew growth. What we do now is weed manually and regularly, if necessary, until the seedlings become taller, and then place the mulch around them. Diligence in weeding (and later mulching), watering and good drainage (which the raised beds offer) in the early stages of seedling growth pays off in the long run.
Today, we have a quaint picket fence around our raised vegetable beds. On the other side of the picket fence we have foxgloves, sage, catmint, rose arbors, lambs ears and chrysanthemums. Before spring is over, we hope to plant Russian Giant sunflowers. This all makes for the seduction of beneficial insects and critters to the garden. Butterflies, ladybirds and basking lizards are all welcome visitors!
This is a summary of how one of our garden 'rooms' used to look. Although you can't rush a garden, it seems to change so regularly.
*We still have raised garden beds; - we've moved them to another 'room', and they are now made from metal (because we are metal fabricators and - well - why not?).
*We still have picket fences surrounding the garden rooms, but our pit bull cross, - Cezar by name - has busted a few of the panes out as he does his 'mad-half-hour' run around the garden in joy and excitement. Machinist compares him to a Mack truck.
*The Russian Giant Sunflowers were a sheer delight. Oh, and they were - HUGE.
Anyway, moving on....
Our garden soil is mainly clay. Pure unadulterated clay. There isn't much one can do with clay soil - especially if a vegetable garden is on the cards. Clay soil becomes water logged. Very quickly. A brief spring shower can cause the clay soil to become like a mud-wrestler's performance ring. For years we tried to correct the clay soil, by adding gypsum. The soil improved, but the wet areas still returned - year after year. Until we learned about raised vegetable beds.
It is necessary to ensure that the wood used for contained, raised garden beds is not what is termed 'treated' wood. Reason being, the chemicals used to treat the wood can and do seep out of the wood and contaminate the soil which the vegetables grow in. This ultimately affects the plants. We used hardwood planks, to erect the 'frames' for our raised vegetable beds. Hardwood lasts a long time, before splitting or rotting. Many people call the hardwood planks 'sleepers' - a name given to the planks supporting the railway tracks, but the ones we used were nothing like the authentic railway sleepers.

When the frames were completed, we carried them to their allocated site; a semi-gravelled driveway that we no longer wished to use as such. The gravel was part pebble and part road base. Weeds had already started to grow through the gravel, so these were first cut down before we laid the frames. It really doesn't matter where you start your raised vegetable garden, as long as it receives full sun for at least eight hours of the day.
On one side of the (former) driveway are the septic tanks, water tank and house, on the other side is our back garden. To make the whole area uniform, we covered the in-ground septic tanks with a colourbond sheeting, and built a raised, framed vegetable bed around them, forming a 'U' shape. Four frames running north/south and two frames running east/west were laid in position, making a total of 7 beds in this full-sun area. We placed thick newspapers within the frames to cover the ground and prevent further weed growth. Then began the task of filling the beds with soil.

Between the frames, to prevent weed growth, we placed thick layers of hardwood sawdust - making paths. This wears down over time, but we continue to top it up when necessary. The amazing thing about sawdust is that very few snails like to pass over it. Whenever we see stumps where the lettuce was once thriving, we know it is time to top up the sawdust!
 |
| I turn around and the greens have gone to seed.... |
 |
| Herb Garden |
No comments:
Post a Comment